Adventures with Wix Velo
Displaying Map & Marker — Multiple Markers on Google Maps with Wix Velo
Welcome back to my series on displaying multiple locations on Google Maps with Wix Velo. I’m excited and grateful that you’ve chosen to have a look into what I’ve learned, and I hope that you find this tutorial helpful.
Our Goal For the Series
Our goal in this series is to build a website which fully integrates the display of multiple, dynamic map data points into a Google Maps display. We want to be able to update a location and have it almost immediately display on our website. If you’d like to read more about why this is important, here’s my introduction.
Working Example: The example we’ll be using is shown here.
Github / Code Repo: For those who find it useful, the public github repo is here.
Along the way, I’ll share couple of tips on some security considerations, along with helpful observations which will hopefully save you many hours of troubleshooting. The full list of episodes can be found at the bottom of each episode.
As always, I hope this content is helpful. It means the absolute world to me when you take time to clap for an episode, subscribe to my stories or use my referral link to sign up for Medium. It lets me know that my stories are helping you ❤️.
Enjoy, and feel free to drop me a DM on twitter, connect on LinkedIn / Github with thoughts and comments 😃
In This Episode
This is a very exciting episode as we’ll finally be able to start doing some fun things with our (up until now) empty HTML Element. Hopefully by the end of this episode, you’ll be able to see it coming together 😃
Here’s what we’ll be covering:
- Setting up a Google Maps API Key (you need one for this)
- Displaying a generic Google Map (no markers)
- Adding a Marker
- Customising the Marker with a custom image and custom title
Here’s what what my map looked like at the end of this episode:

Setup Your Google API Key
In order to display multiple markers on your Google Map, you need to use a Google Maps API Key. As with most Google Cloud products, this is really simple to set up, and they have a solid tutorial on how to get it. Even better for our purposes, they provide a generous amount of free usage per month.
Go and do this now, then save it somewhere secure.
Google API Key Security
As with all things, we need to take care of our security. For this episode, we need to ensure that our API key is secured. This is particularly relevant because the use of an iframe means that our Google API Key will be exposed.
Rather than show you how to do this myself, I’ll give you the link to Wix’ Velo Documentation and Googles Best Practices. I beg you to please at least restrict your key to only use your websites referrer.
Note that you should do this for your published site AND your draft site — so two referrer websites in total 😃. If you don’t your map will not work on one of those locations.
Get Our Map Displaying
Our next step is to get our generic Google Map displaying. We’re not looking for anything fancy, just a nice, beautiful map showing in our iframe.
We’ll be basing these on the Google Maps tutorial with a couple of additions.
HTML Code
- Navigate to the HTML component of the Google Maps Simple Maps Tutorial
- Copy the code from here to your clipboard
- Navigate back to your iframe
- Click ‘Enter Code’
- Paste the copied code into the window
- Navigate to the line
src="https://maps.googleapis.com/maps/api/js?key=SOME_KEY&callback=initMap&v=weekly" - Replace the key with your own Google Maps API Key
- (Optional) Depending on the browser window and OS you’re using, you may have issues with the pop up window on the Wix Editor not displaying all the code you want to see. One work around is to simply navigate down to the bottom and add in 4 or more returns.
- (Optional) Remove the comment section of the script. At least in my editor it just took up a ton of space and didn’t ever format correctly, so I simply deleted it.
- (Optional) Change the Title of the page to a more meaningful title for you.
- Push the ‘Update’ button
Right now, your frame should have changed to be an empty box. That is not really very useful, but it does show some progress.
Javascript Code
The next stage is getting across the javascript which initialises the map inside our HTML Frame.
- Navigate back to the Google Maps Simple Maps Tutorial
- Select the ‘JavaScript’ section
- Copy the code there.
- Navigate to your Wix Editor
- Navigate to the first
</script>tag - Under this tag, create a new
<script> </script>set of tags. I typically do this so I can keep track of the code I’ve created / modified, compared to code I’ve used from other sources. - In this new set of script tags, paste the code you’ve just copied
- Select ‘Update’
At this point, one of two things may happen. Either you’ll continue to have an empty box displaying, or more frustratingly, you’ll have a Google Map flash on your screen for about 0.5 seconds before going blank.
Fixing up the <div>
The fix for this is surprisingly simple. It lies in the <div id="map"</div> line. We need to declare to the embedded element how we want to display the map. To avoid confusion, we always set this to be a height of 100% and width of 100%. This is because we use the frame in our ‘parent’ site to declare the size and width of the map, with the assumption that this frame is always fully filled. Confusing I know, but there you go 😃.
To do this, replace the line with: <div id="map" style="height: 100%; width: 100%;"></div>
Select ‘Update’ again and Voila! We have a Google Map displaying 😄
Adding A Marker
Our next step is to add a marker to our map. This will initially take the form of generic marker, before we customise it a bit later.
Prepare Variables
For this step, we’re adding in two variables called midpoint and midpointLocation. These variables set our midpoint location for the map, and will double as our midpoint Marker location.
Do the following:
- Navigate to the ‘Edit Code’ section of your map
- Navigate to the
let map;line of code - Under this section, put in the following line:
let midpoint = {lat: WHATEVER_LATITUDE_YOU_LIKE, lng: WHATEVER_LONGITUDE_YOU_LIKE, Title = "Midpoint"} - Next, add in our midpointLocation variable:
let midpointLocation = { lat: midpoint.lat, lng: midpoint.lng }; - Now replace the line
center: {lat: -34.397, lng: 150.644 }withcenter: midpointLocation - Press ‘Update’. Nothing should change about your map.
We’ll take a quick pause here to review the code so far. Here it is:
Place Midpoint Marker
As promised, our map needs a marker. Using the Google Maps Tutorial to start with here, the code is really simple. We’ll make it even simpler by using the two variables we created earlier. Here’s how:
- On your Wix Editor, press ‘Edit Code’ on the HTML Component
- In the function
function initMap()section, scroll to the bottom of the function. - At the bottom, add the following code:
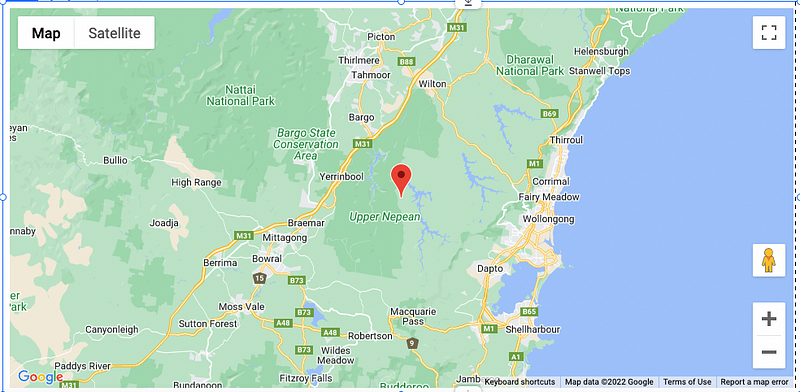
A quick ‘Update’ and huzzah! You should have a marker at your midpoint (which is currently your default location). Here’s what mine looked like at this stage.

Customise Our Marker
The final step in this episode is customising our marker. This can have many practical benefits for you and your customers, plus it’s a little bit fun.
Add An Icon
I used a customised version of my companies icon. This icon is stored on my Wix site, which makes it really simple to reference it into the image.
You can use any image you can reference, and even .svg. Make sure you keep it legal though 😉
Here’s the process:
- Navigate to the ‘Media’ section on your Wix website
- Go to your ‘Site Files’ section
- Select the image you want to use
- Right click on the image, then select ‘Copy URL’
- Paste this link somewhere
- Go to your Wix Editor and select ‘Edit Code’ on your HTML Component
- Under the
let midpointline, declare a new variablelet markerImage = PASTE_YOUR_URL_LINK_HERE - Navigate down to the
new google.maps.Markersection and add the following in the function:icon: markerImage - ‘Update’ your editor and you should have a nice icon right in your default location
Here’s what my Marker code looks like:
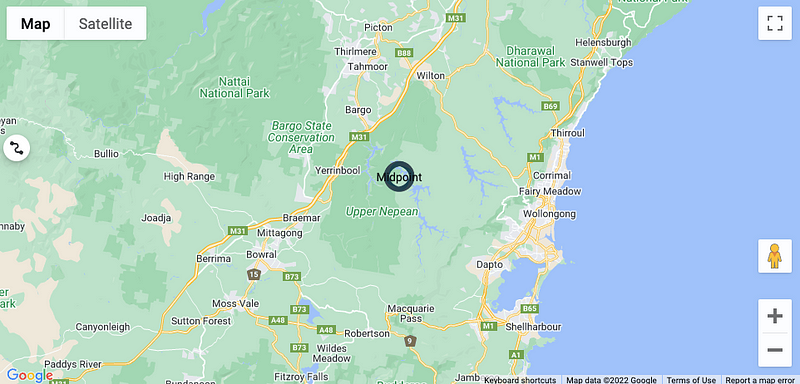
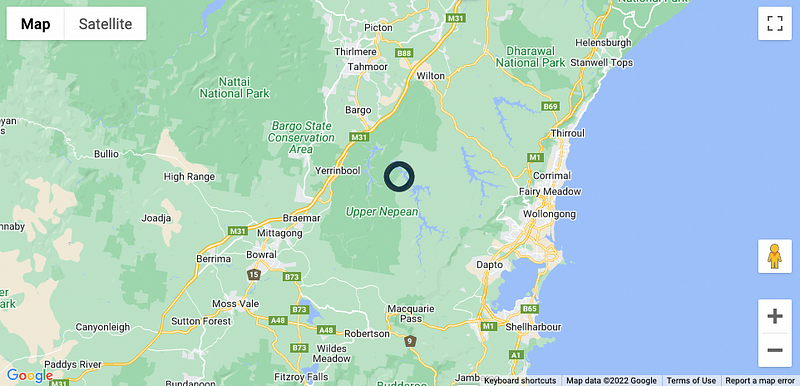
Here’s the marker. Right in the middle of a beautiful walking track a couple of hours outside of Sydney.

Add A Title and Label
Google often displays markers with an alphabetic character. It’s a simple way to effectively rank markers from first “A” to wherever it ends.
However, we can do more with this. We could name it with something like the marker title: Midpoint. I’m sure you can think of other fun labels.
To do this, navigate back to the google.maps.Marker and add the following lines:
label: midpoint.Titletitle: midpoint.Title
Update your code again and look at the result!
Here’s a quick snippet of the Marker code:
And here’s what my map looked like:

Full Code for HTML Frame So Far
We covered a lot of code in this episode, so here’s the full code for our HTML Frame for this episode:
Wrapping Up Episode 3
That’s it for Episode 3! I’m so excited that we’ve now got a lovely Google Map displaying on our webpage with customised icon. That’s an incredible achievement.
I’m proud of you for sticking with it this far as well. Well done!
In our next episode we’re going to start displaying our dynamically changing locations. We’re getting really close to the end now, so stick with it!
List of Episodes:
The full list of episodes in this series are linked below to help you navigate quickly ❤

